Illustrator - Gradient Mesh
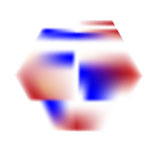
Created Polygon and manually created Gradient Mesh points. Applied red and blue color to varying Gradient Mesh points to create Stained Glass look
|
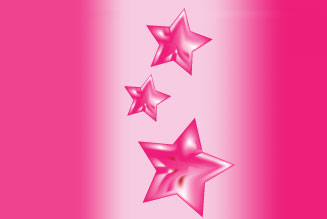
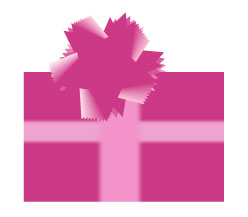
Created dark pink Stars and manually applied Gradient Mesh to make white and pink swirls. Created dark pink rectangle and applied gradient mesh of light pink in middle. Then moved stars to light pink gradient.
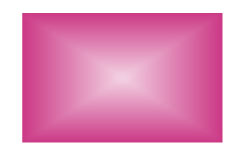
Created dark pink rectangle and chose Object > Create Gradient Mesh with following settings: Rows = 25, Columns = 25, Appearance to Center, 75% highlight
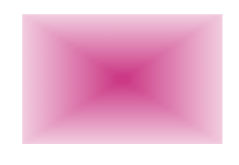
Created dark pink rectangle and chose Object > Create Gradient Mesh with following settings: Rows = 25, Columns = 25, Appearance to Edge, 75% highlight
To create package portion of graphic below - Started with dark pink rectangle and chose Object > Create Gradient Mesh with following settings: Rows = 25, Columns = 25, Appearance to Flat, 75% highlight Used Direct Select Tool to chose areas in center of Gradient Mesch and applied light pink. (For ribbon used varying Blend techniques applied to light and dark pink stars.)
|